TL;DR: Mining Bitcoin on a 1MHz 8-bit processor will cost you more than the world’s combined economies, and take roughly 256 trillion years. Github link.
On a long drive home, still high off the heady retro fumes of KansasFest 2019, I was thinking of new projects I could work on with the Apple II. I had, days before, given a presentation about an Altair 8800 emulator I worked on that, while functional, is incredibly slow on real hardware. After all, SIM8800 emulates a two MHz Intel 8080 on a one MHz 6502, and crams 64K of emulated Altair memory into the fragmented, bank-switched 128K of an enhanced Apple IIe.
To what other purposes, I wondered, could I employ that single megahertz processor, that would be similarly impractical, but still demonstrate its unique power and flexibility?
Why not, I thought, try to mine Bitcoin in what must be the slowest possible way? I call it 8BITCOIN.
Upon doing some research, I found that, not only were other 8-bit platforms being put to the task, but other, even more obscure and outdated hardware. An IBM 1401 from the 1960s, a rebuilt Apollo Guidance Computer, and even one deranged individual who demonstrated the hashing algorithm by hand. It turns out, those examples all come from the same deranged individual, Ken Shirriff.
With Ken’s blog posts as inspiration, and a long drive ahead of me, I started formulating my plan to mine Bitcoin on an Apple II by the next time KansasFest rolled around. I worked on my laptop while my copilot, Mark, drove, researching how mining worked, and specifically the Bitcoin algorithm.
The first step in Bitcoin mining on any platform is the SHA256 Secure Hashing Algorithm. This requires a complicated set of bit shifts and logical operations, all on 32-bit words. The Apple II’s 6502 is an 8-bit processor. This was going to take some work. But, as I told Mark, “It’s just shifting bits,” to which he replied, “Yes. But it’s a lot of bits!” By the time we got home, I already had a homebrewed library of 32-bit math functions to call upon, concatenating four 8-bit bytes at a time into the necessary 32-bit words. After that, it really was just a matter of shifting the bits.
Long story short: I managed to beat my goal by about 11 months.
Once I was able to reliably convert a string of bytes into the proper 256-bit hash – a feat accomplished by following along step-by-step with the Wikipedia entry on SHA and its “pseudocode” for the algorithm – I was ready to work on real Bitcoin block headers.
Bitcoin mining involves hashing a 76-byte header, and a 4-byte “nonce” to create a hash, then hashing the resulting hash again. Since SHA-256 takes “blocks” of 512 bits (64 bytes) at a time, this meant my program had to do three separate SHA-256 passes – two for the header’s two blocks, then once more for hashing the hash.
I knew my Bitcoin miner was going to be slow, but this meant it was going to take three times as long as my sluggish SHA-256 implementation was already. My first complete attempt took more than a second of processor time, per hash. And that was pretty slow. I know, the point was to do something completely inefficient and impractical with old hardware, but couldn’t I get it to go just a little faster?
Time to optimize. That means, it’s time to call in Qkumba.
Peter Ferrie, AKA @a2_Qkumba, seems to be able to see code in much the same way as Neo in The Matrix. Presented with a problem in 6502 assembly, without preamble or any preparation, he will immediately find ways to make the code smaller or faster, often both. I presented him with my working but sluggish Bitcoin miner program, and he pointed out several places for me to make major optimizations even before I was finished explaining what the code was supposed to do.
With those pointers as my guide, I hacked away at the code, written in assembly by way of the Merlin32 assembler from Brutal Deluxe. Merlin32 has a variety of excellent features to recommend it. As I discovered, one of these is macros that make it possible to write complex loops as tight and legible assembler commands. Those commands then assemble into a binary a mile long and utterly unintelligible to the casual observer, but runs at surprising speed on the 6502.
Between unrolling loops, macros to do the heavy lifting instead of subroutines, and direct references instead of indirect, I was able to get the entire hashing function to happen in less than 420,000 cpu cycles. I was personally pretty chuffed at this. Then Qkumba got back from vacation.
Within a day of looking over my updated code, he managed to squeeze even more fat from the routines and get it down to an astonishing 269,000 cycles. This, starting from my original code that took more than 1 million cycles to do a single SHA-256 hash, is a nearly 10x optimization. In Qkumba’s words, “It’s a bit faster.”
The proof of concept, while proving the concept at 3.8 hashes per second, was still just churning on historical block headers, not live data. I would have to fix that.
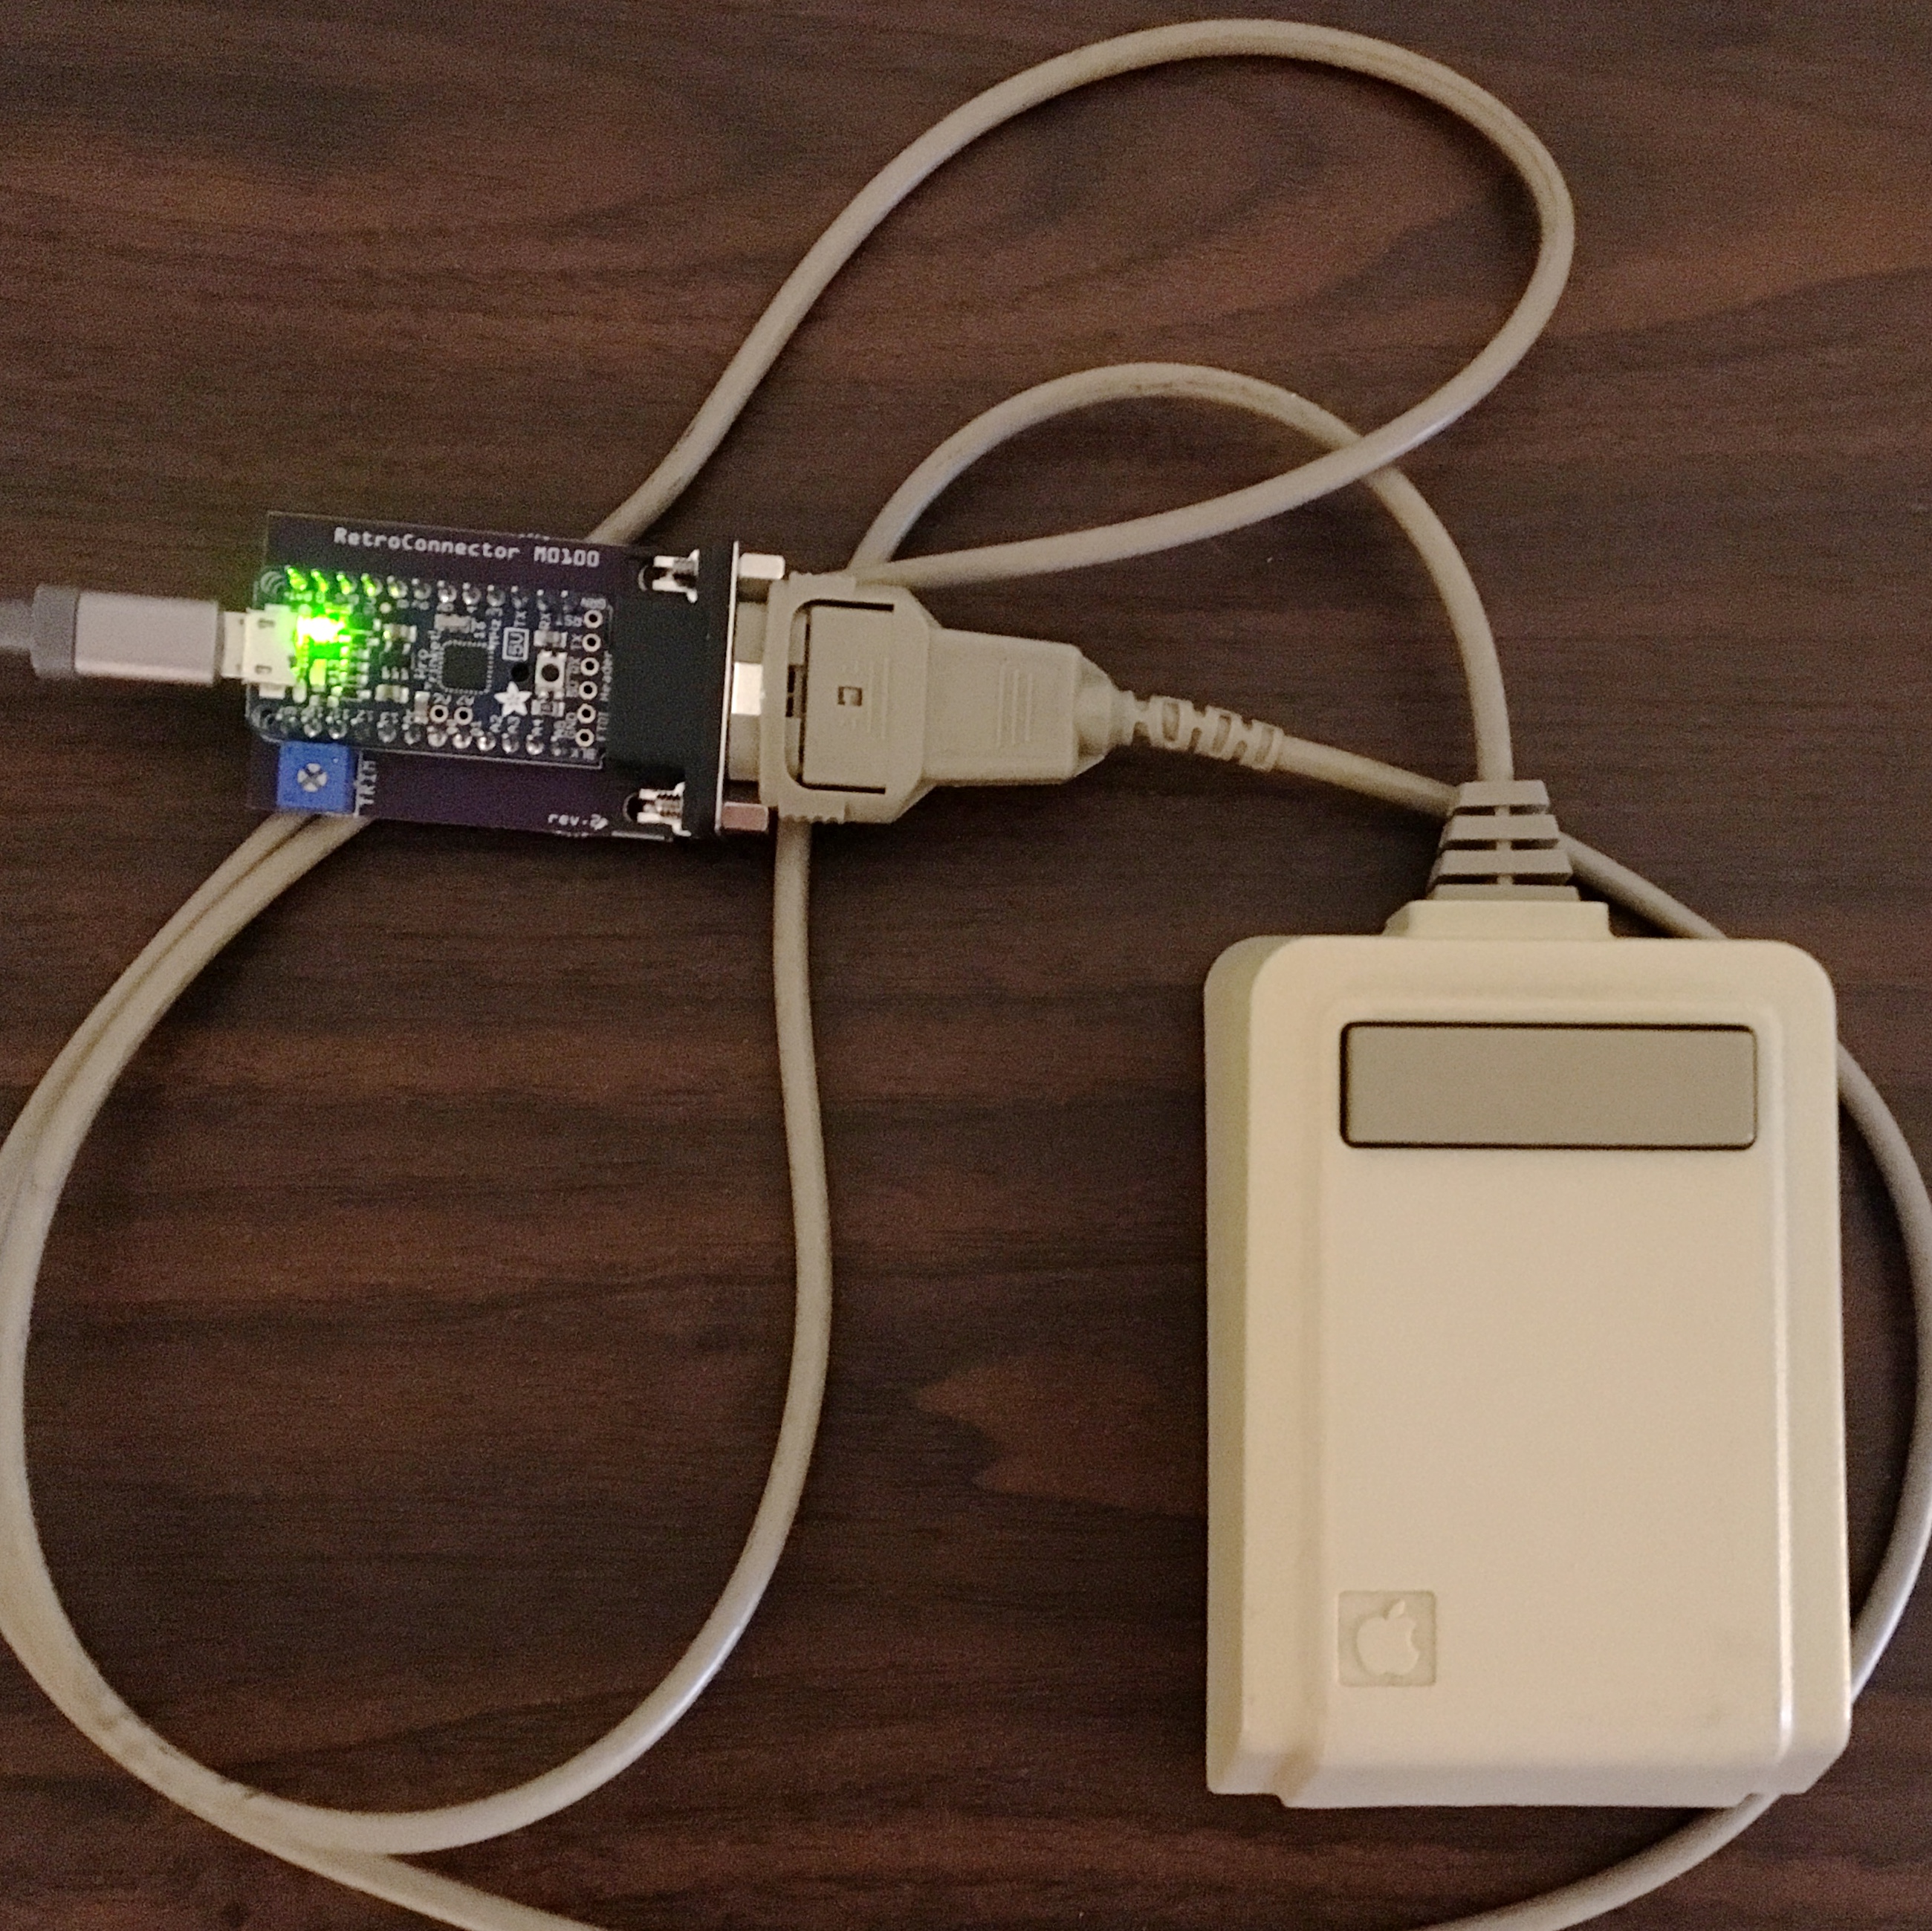
In a recent project, I had worked out a way to mount a floppy disk image over a serial connection and change it, live, from the host computer. This was accomplished by running a modified version of ADTPro and its Virtual Serial Drive. In this way, I was able to spit blocks of bytes out of a python script on my Mac, and slurp them onto the Apple II in near real-time.
With that knowledge, a command-line mining manager called cgminer, and a mining account on Slushpool, I was soon mining real Bitcoin blocks on my Apple II.
So, it was time to share my project with the world. Hence, the Twitch.TV stream: https://www.twitch.tv/8BTC
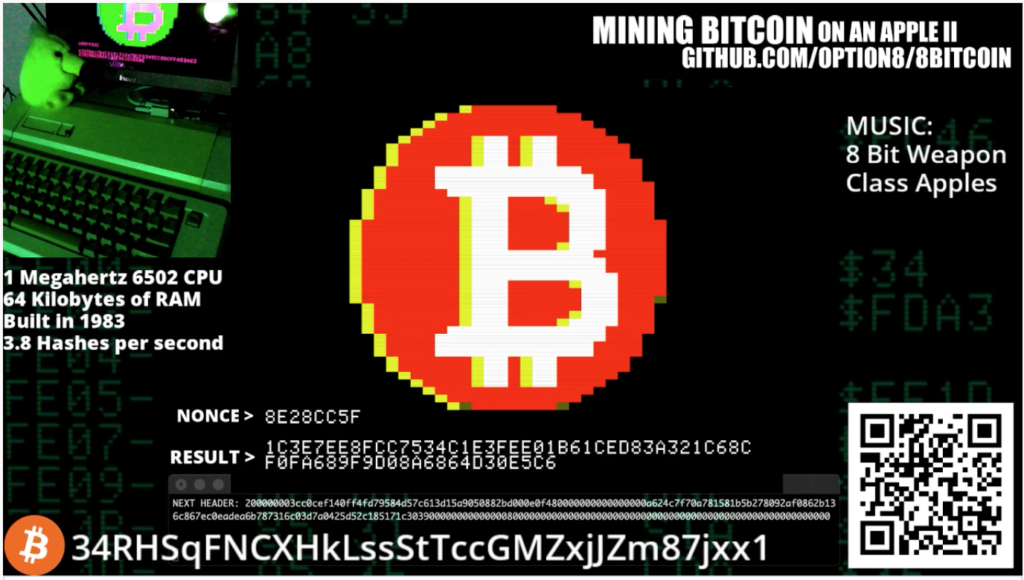
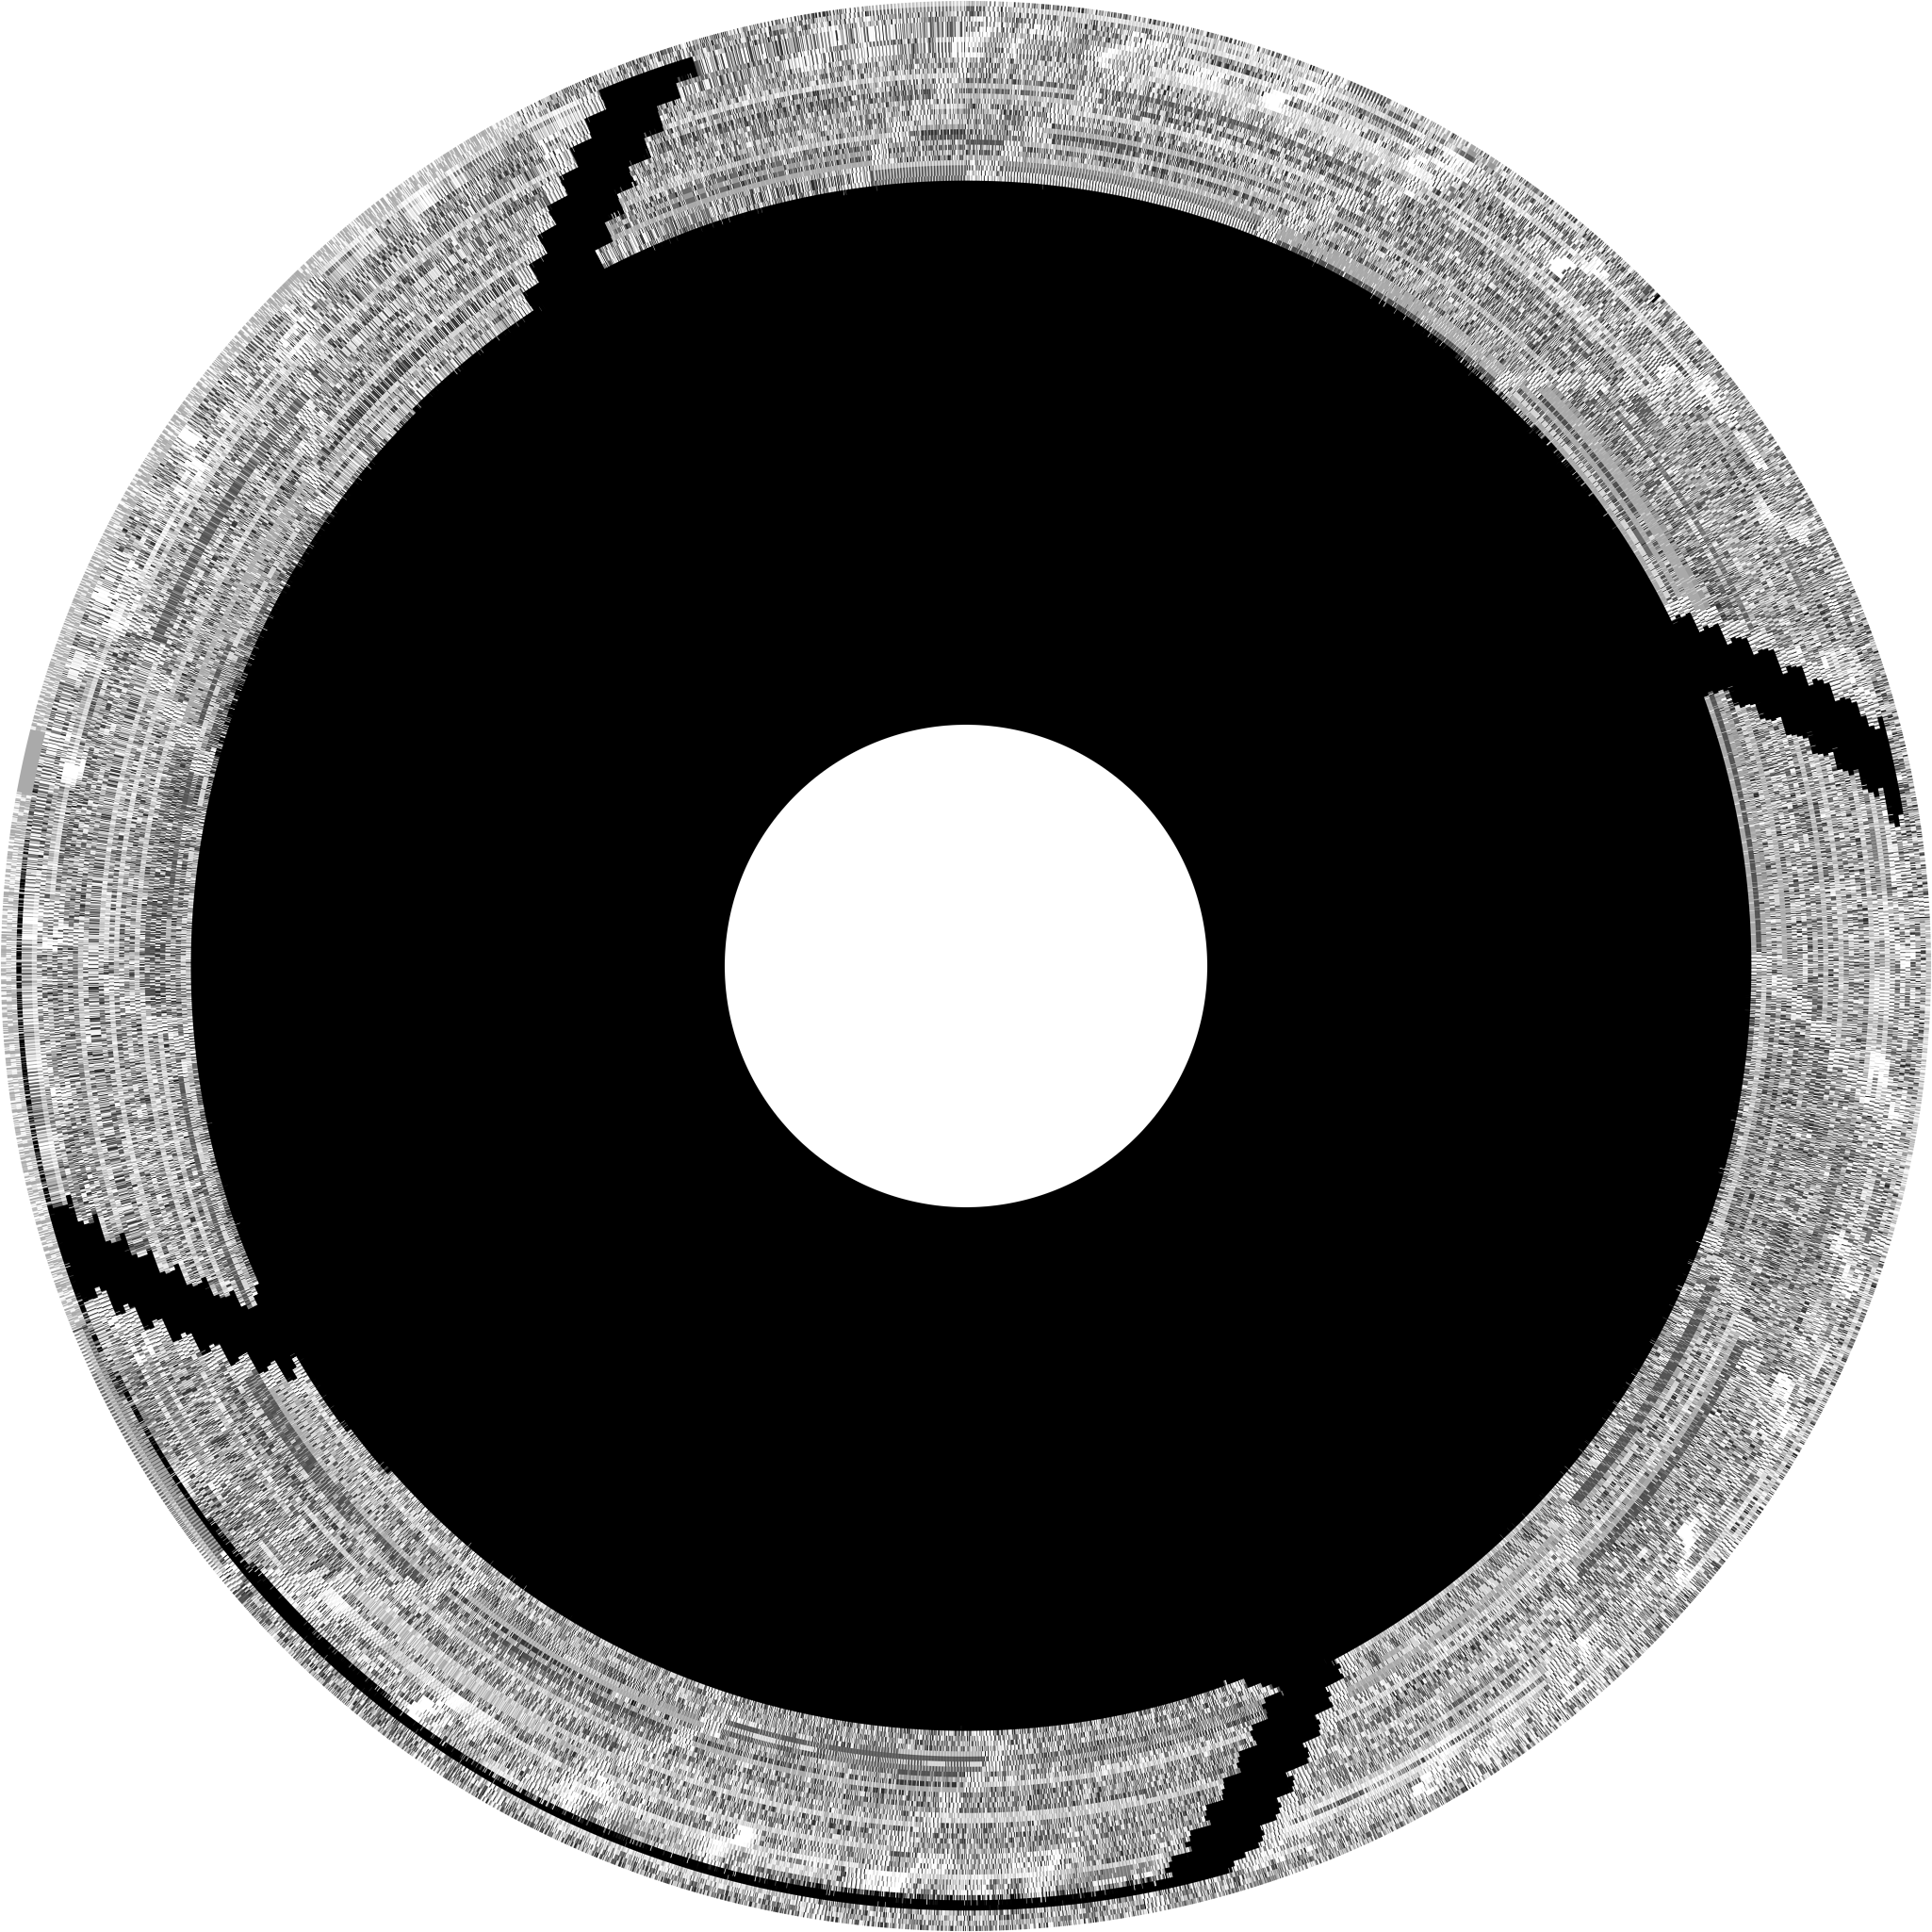
As you can see in the stream itself, the 8BITCOIN “interface” is mainly a large, low-res Bitcoin logo. Occasionally, you will see the coin spin. This means it is grabbing a new header from the serial port-mounted disk, or that it has found an “interesting” hash. Interesting here is defined as a hash result that begins with at least two zeros. In the extremely unlikely event that 8BITCOIN finds a hash that begins with 18 zeros (the hallmark of a hash that meets the current difficulty level) it will print the result and crash to the monitor.
And when I refer to the likelihood of finding a candidate hash with 8BITCOIN, I mean a distant, remote, infinitesimal possibility. At the current difficulty level, mining Bitcoin successfully at 3.8 hashes per second will happen, on average, once in 256 trillion years. But it could happen tomorrow. It’s a lottery, after all.
If you feel like you absolutely must throw some money at me and this project, and support future pointless endeavors, you may send me BTC at the following address:
34RHSqFNCXHkLssStTccGMZxjJZm87jxx1
