This quick post and how-to should give you a good idea of how to replace a broken key switch post on an Apple IIe with the RetroConnector replacement IIe post ($3.00 at Shapeways). I’m also working on a video to show the step-by-step from desoldering to testing. Keep an eye out.
A broken post will look something like this:
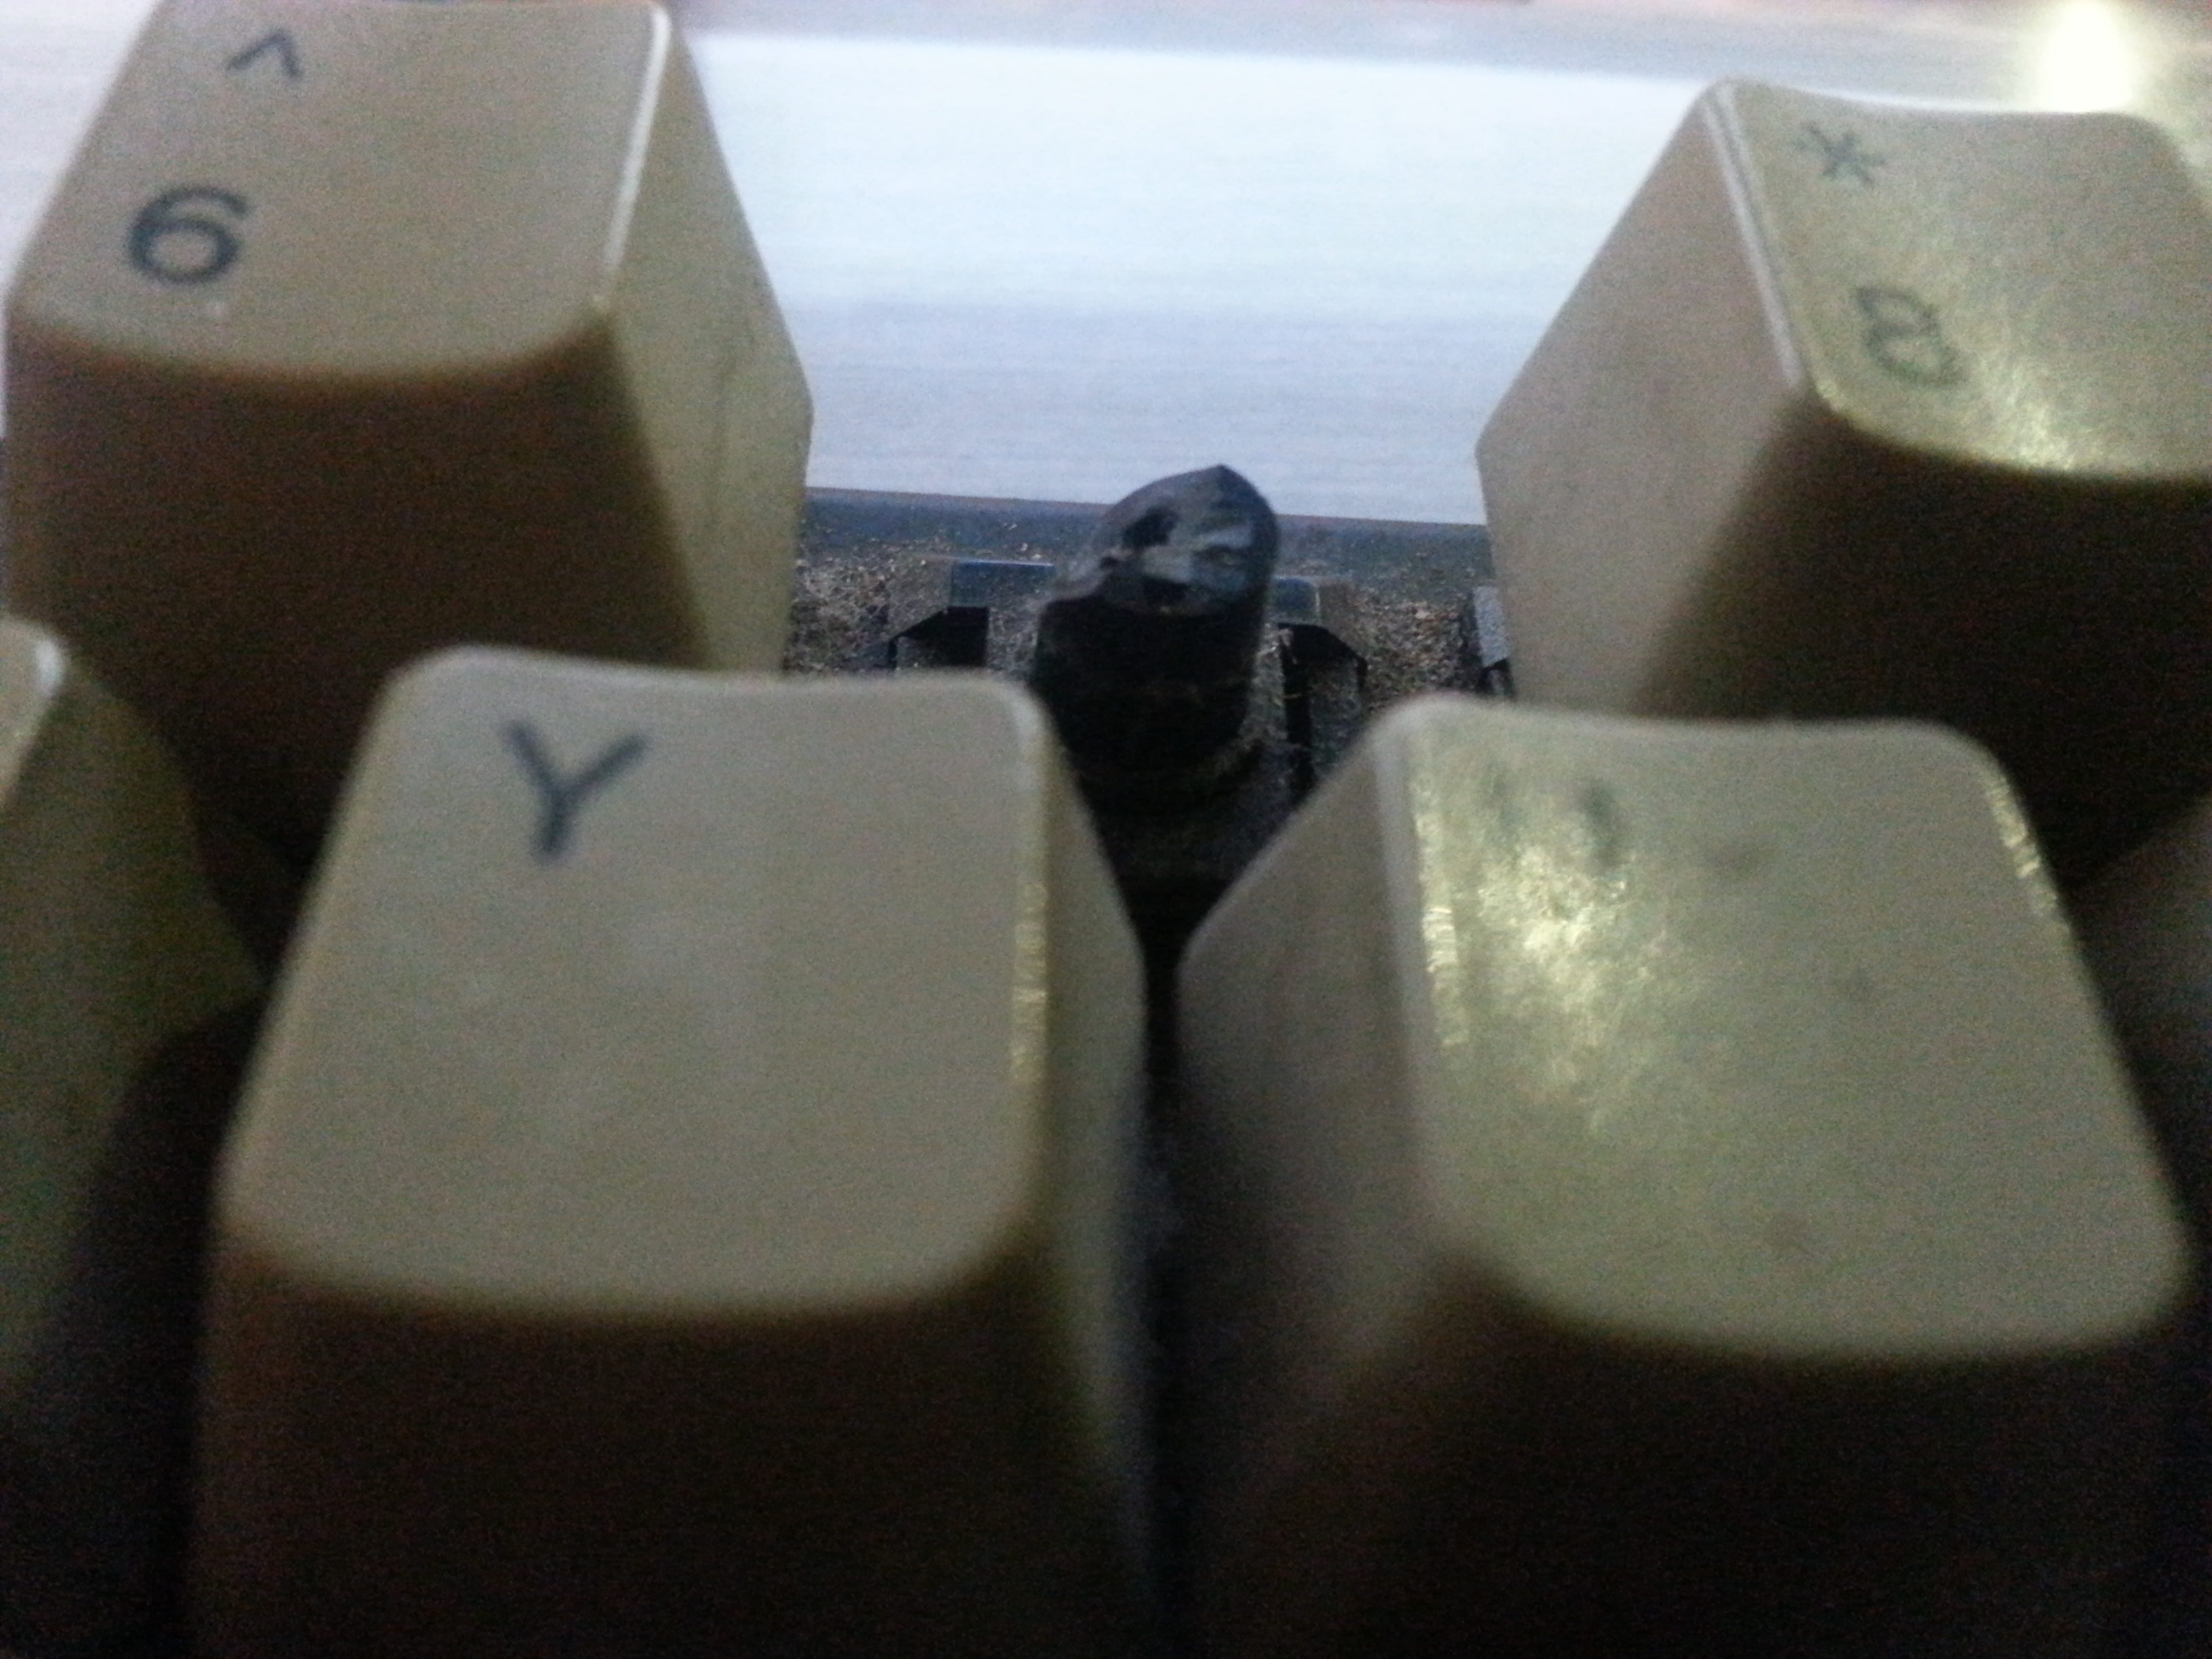
The poor 7 key never knew what hit it.
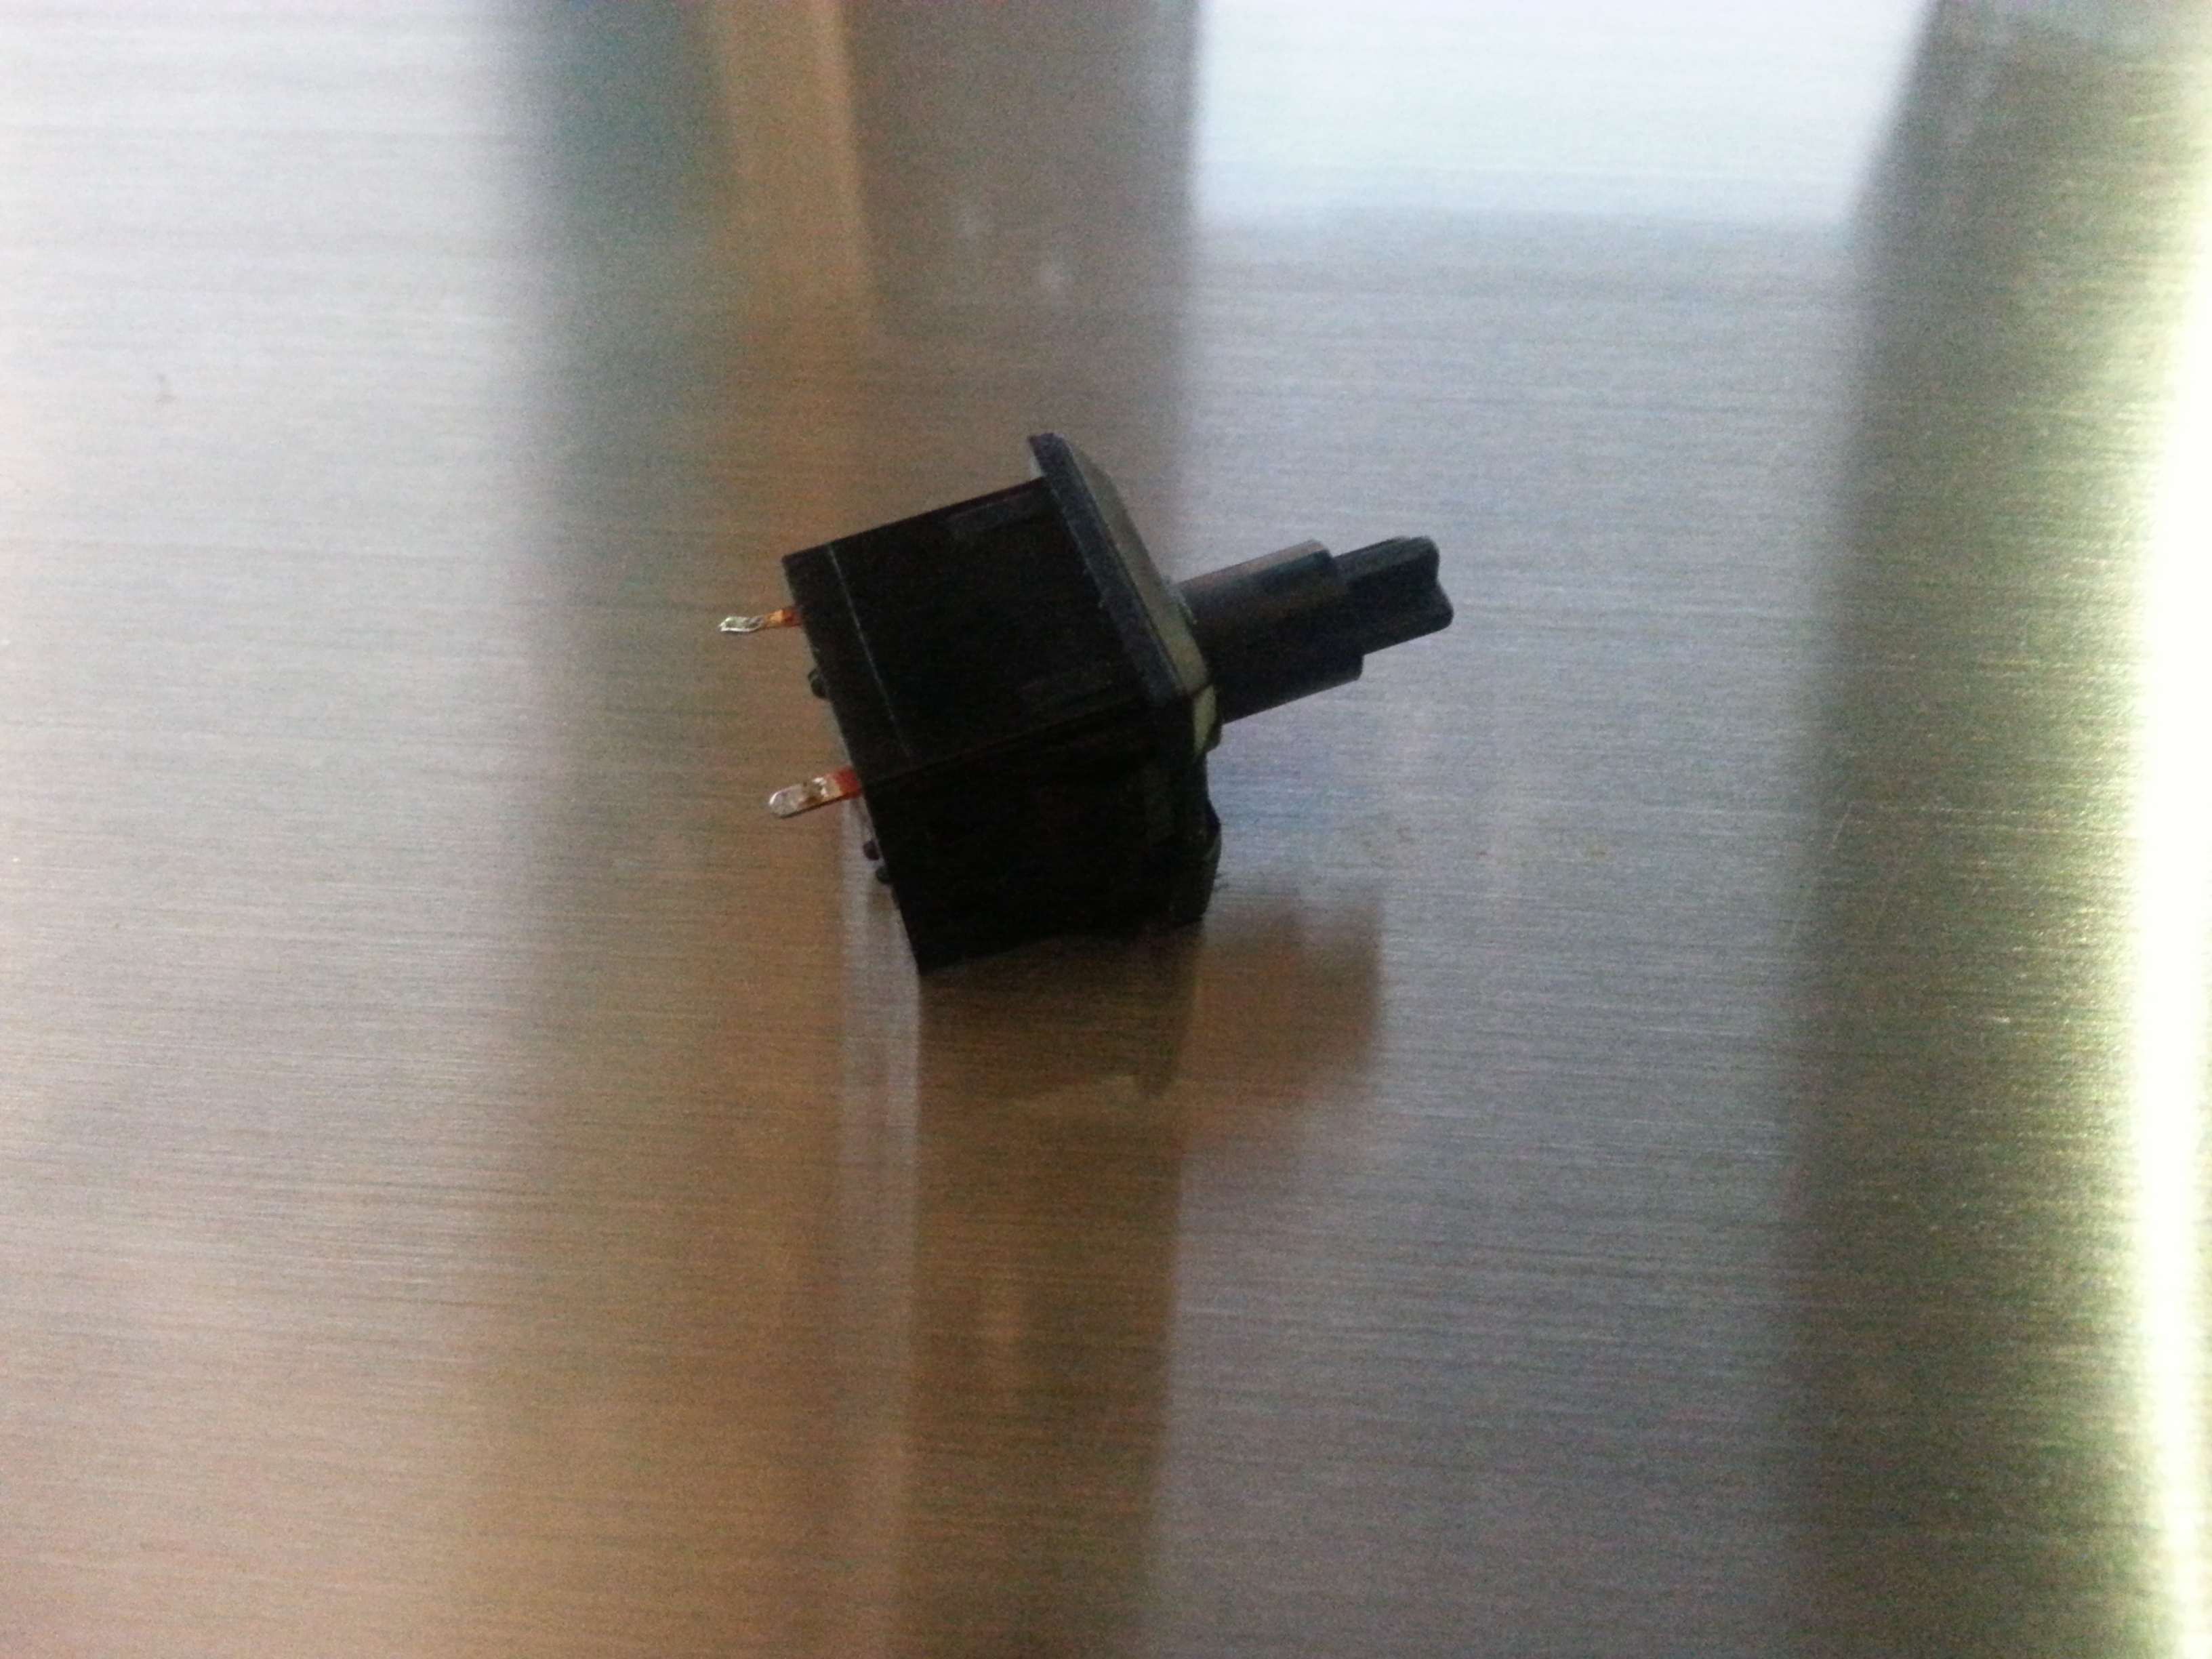
After desoldering, the switch should pop out of the keyboard in one piece like so:
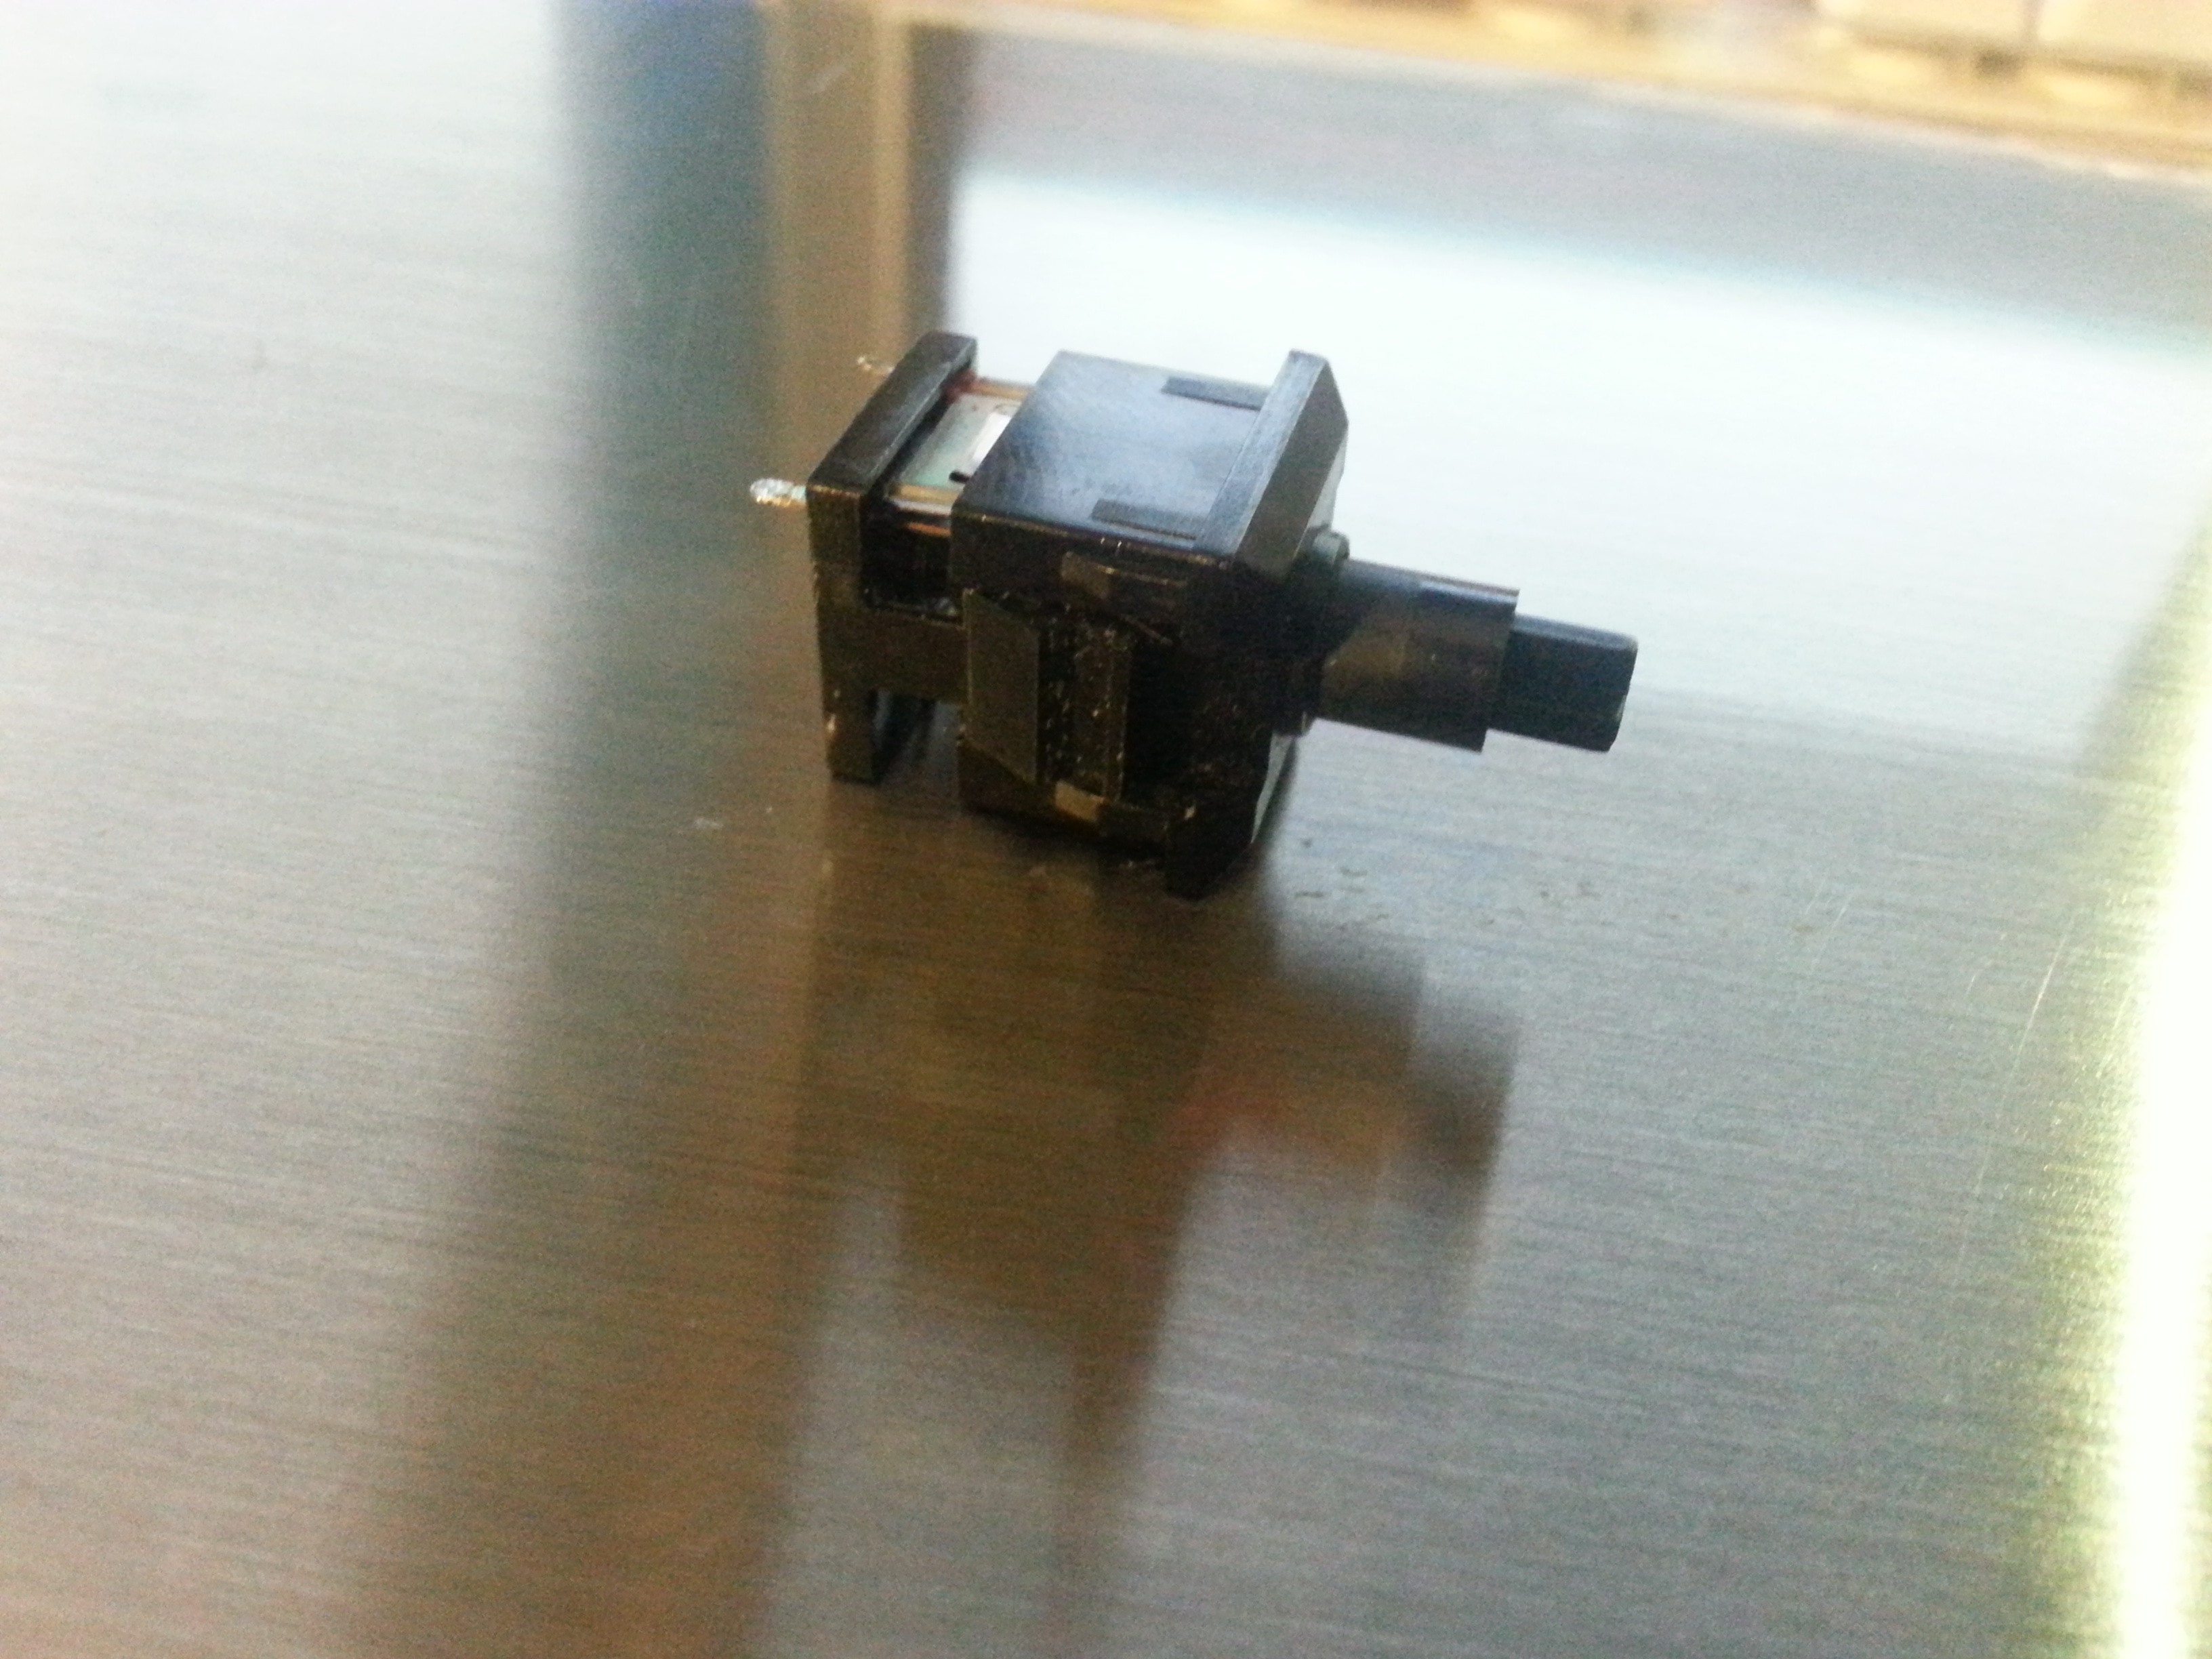
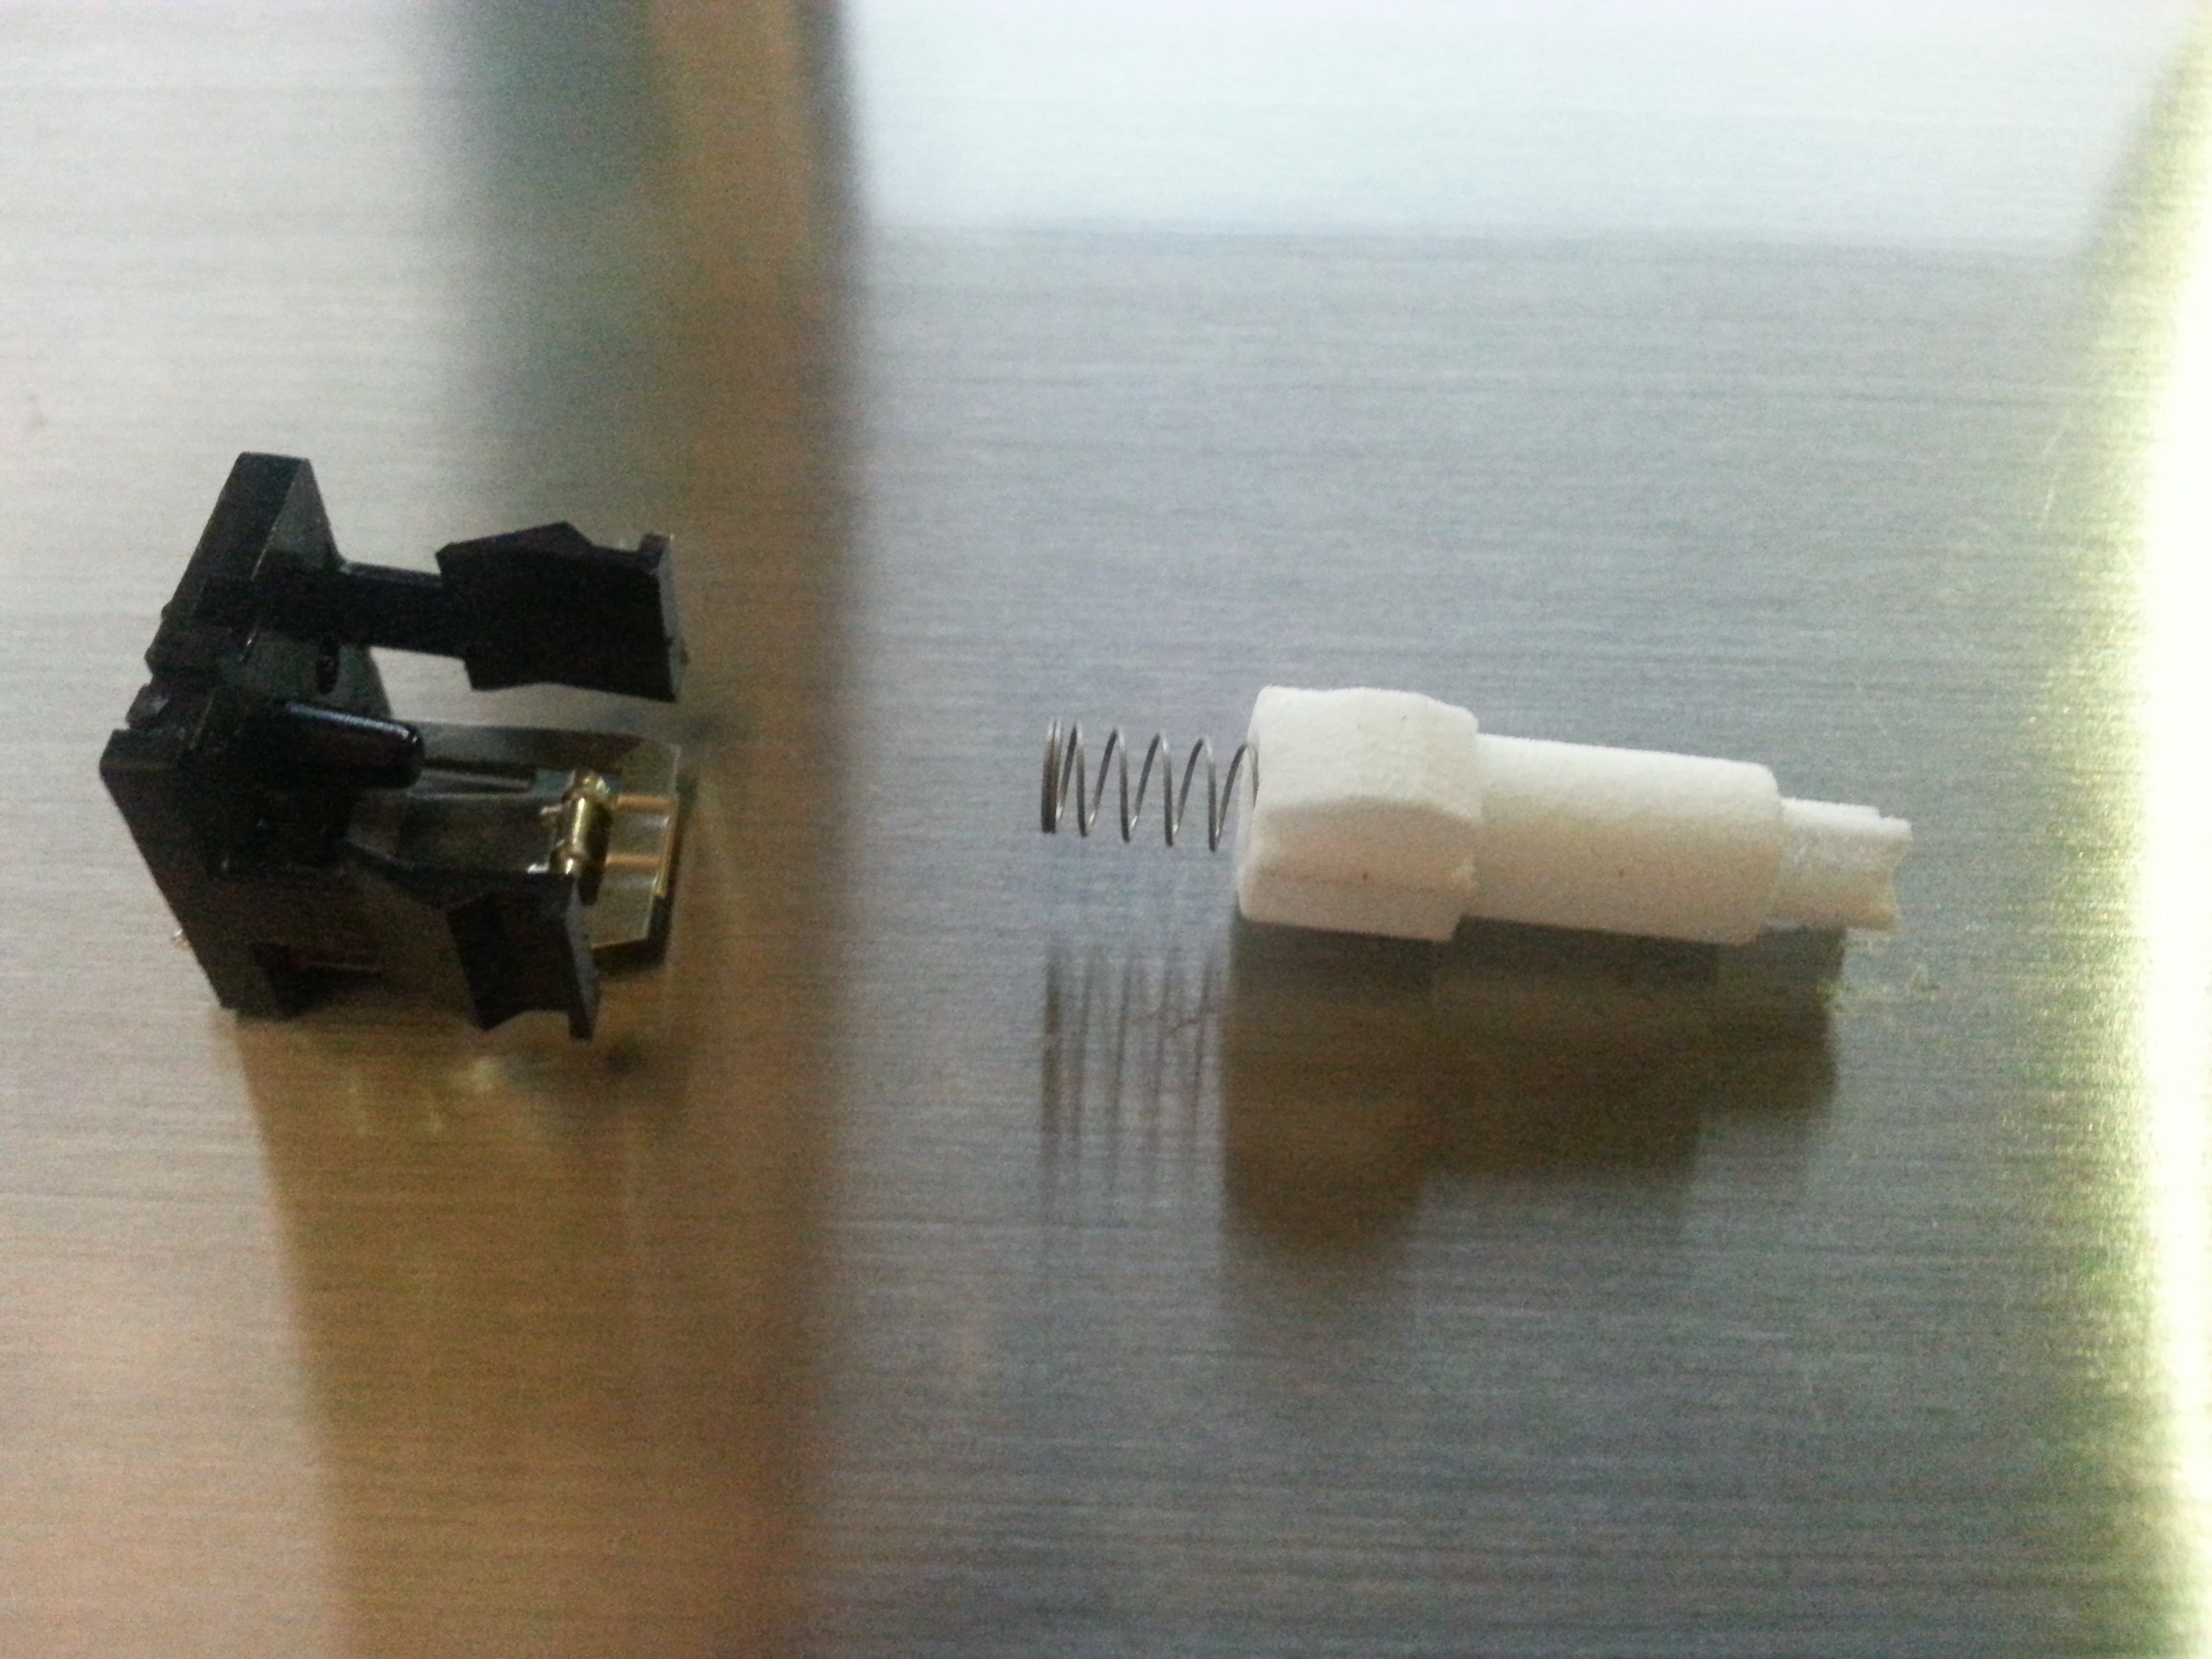
a (non-broken) IIe key switch, I used for testing
Opening the switch can be tricky, but as long as you are careful not to break the small plastic tabs, you should be able to re-use everything inside except the broken post.
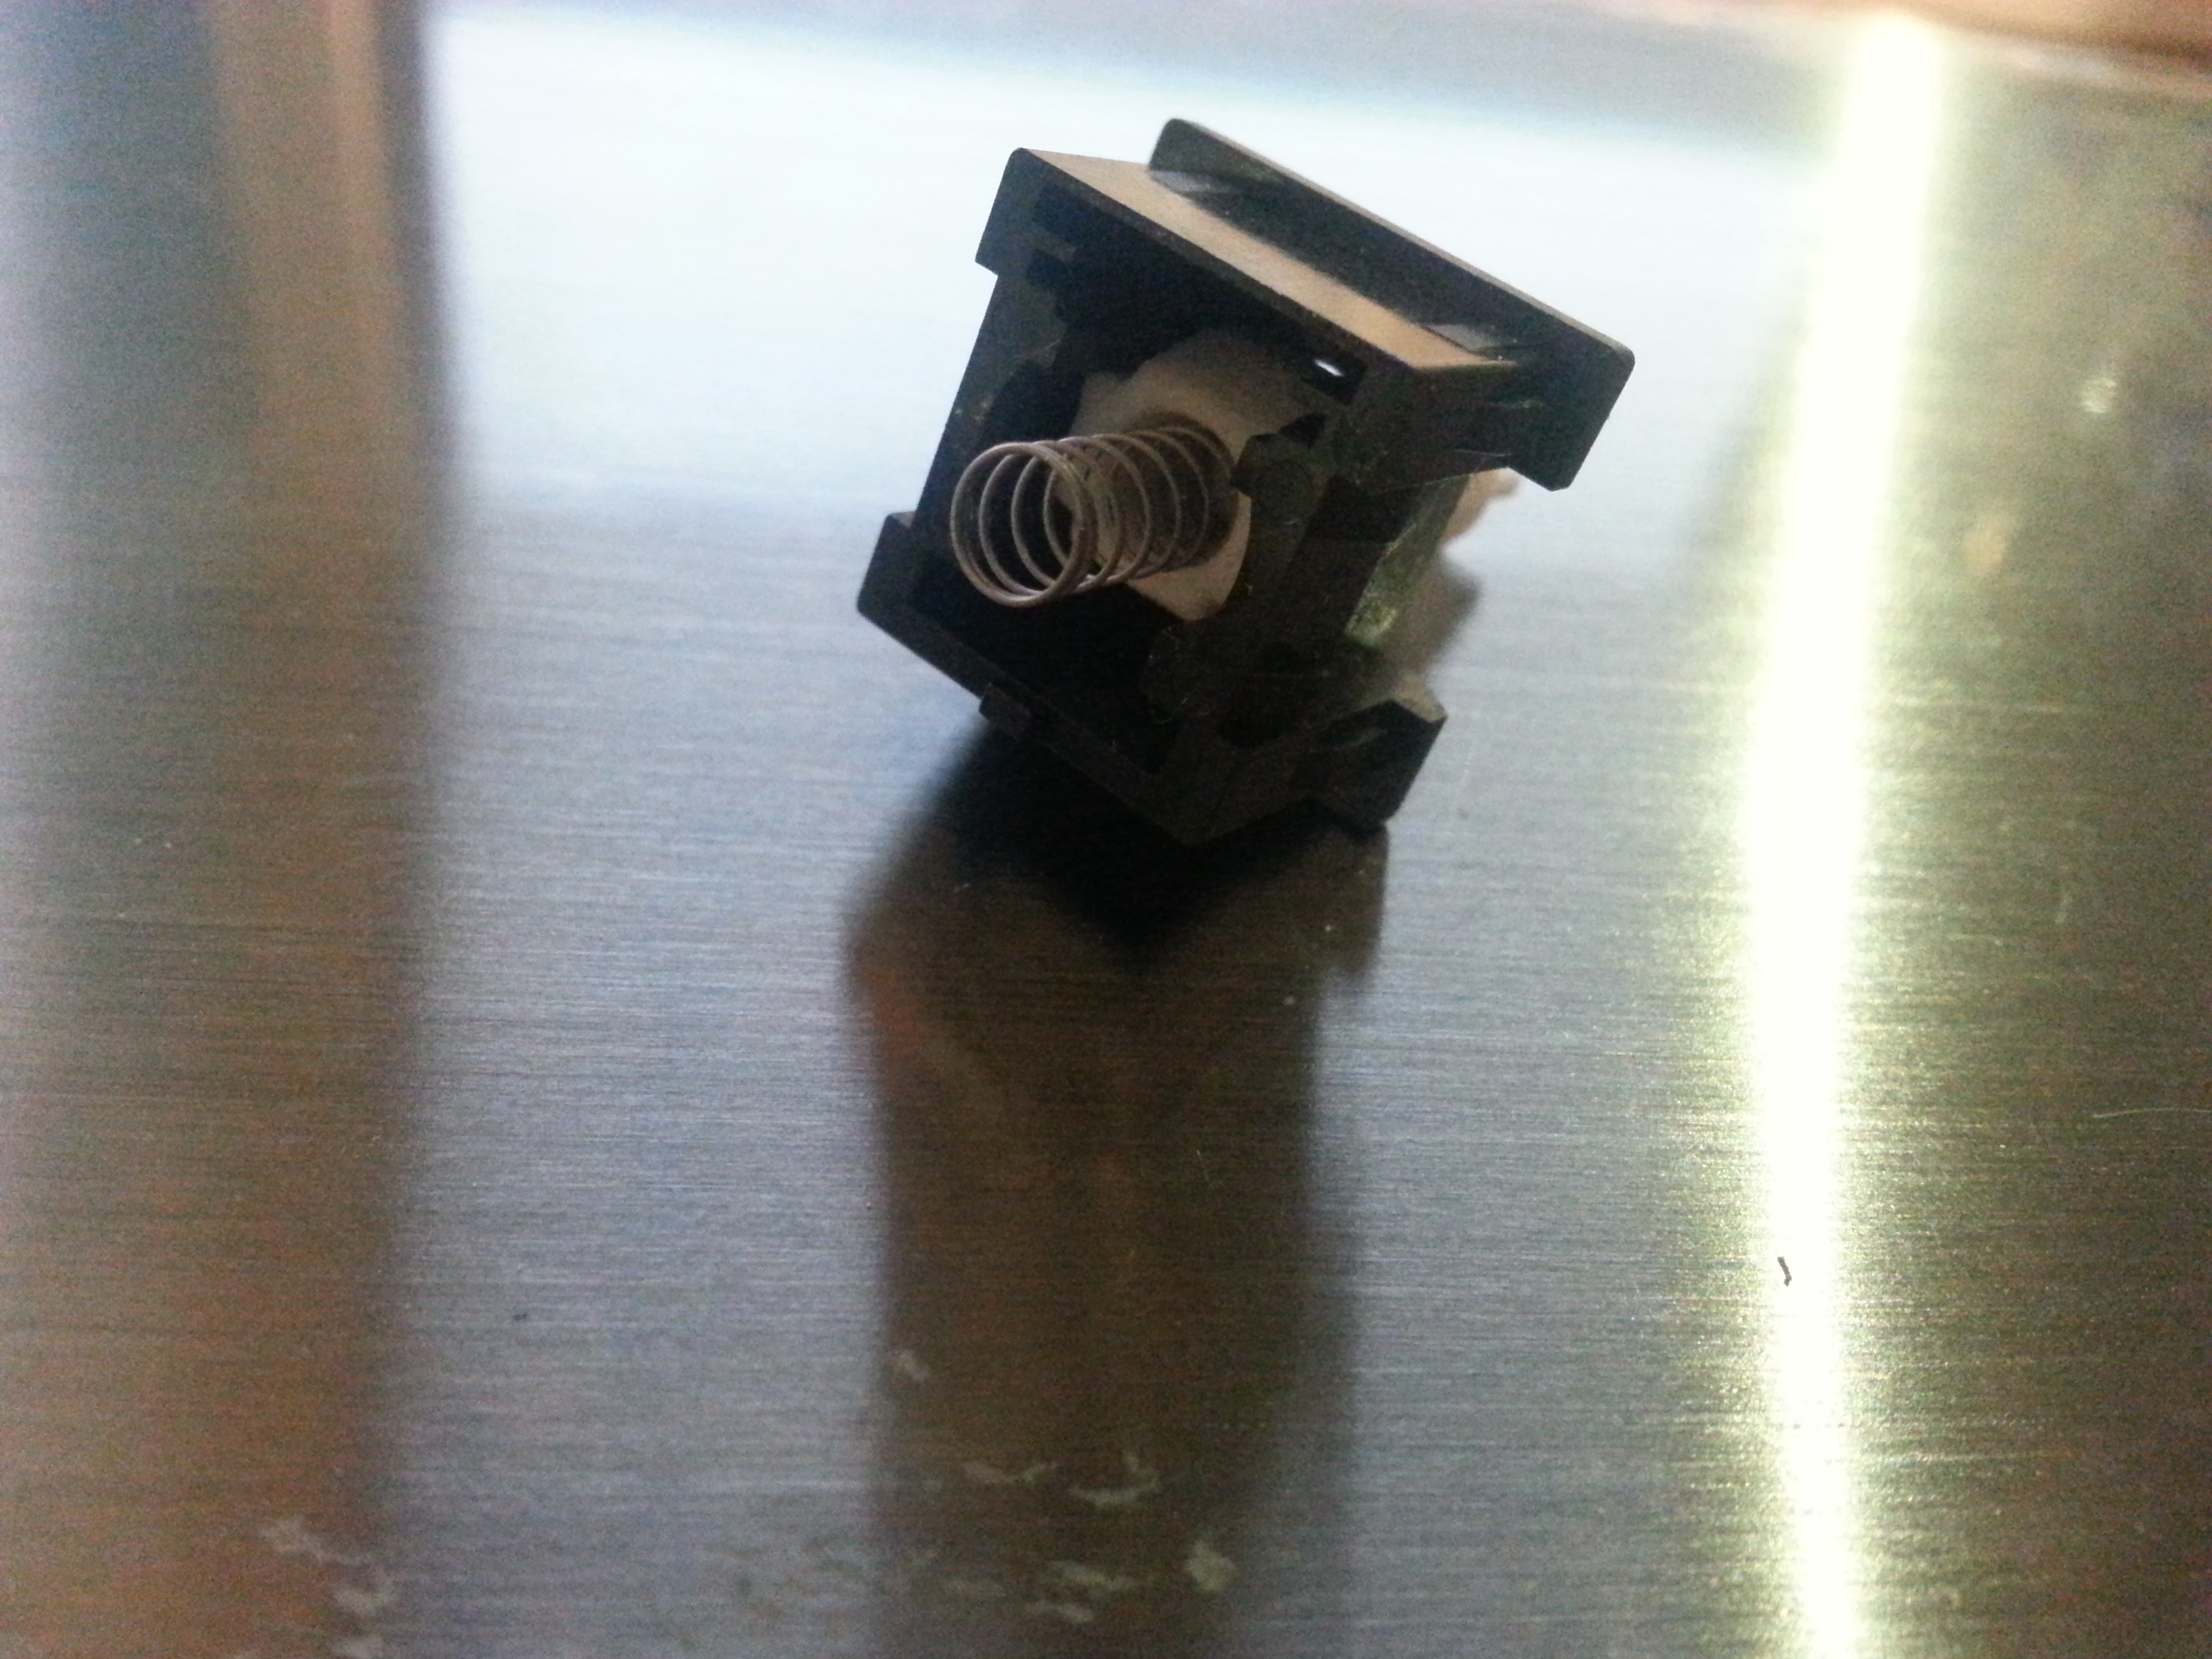
Careful at this step. The tabs can break with too much force, and there’s a spring inside that wants nothing more than to escape, never to be seen again.
Be careful, as the spring inside the post has a tendency to jump away when released from its prison.
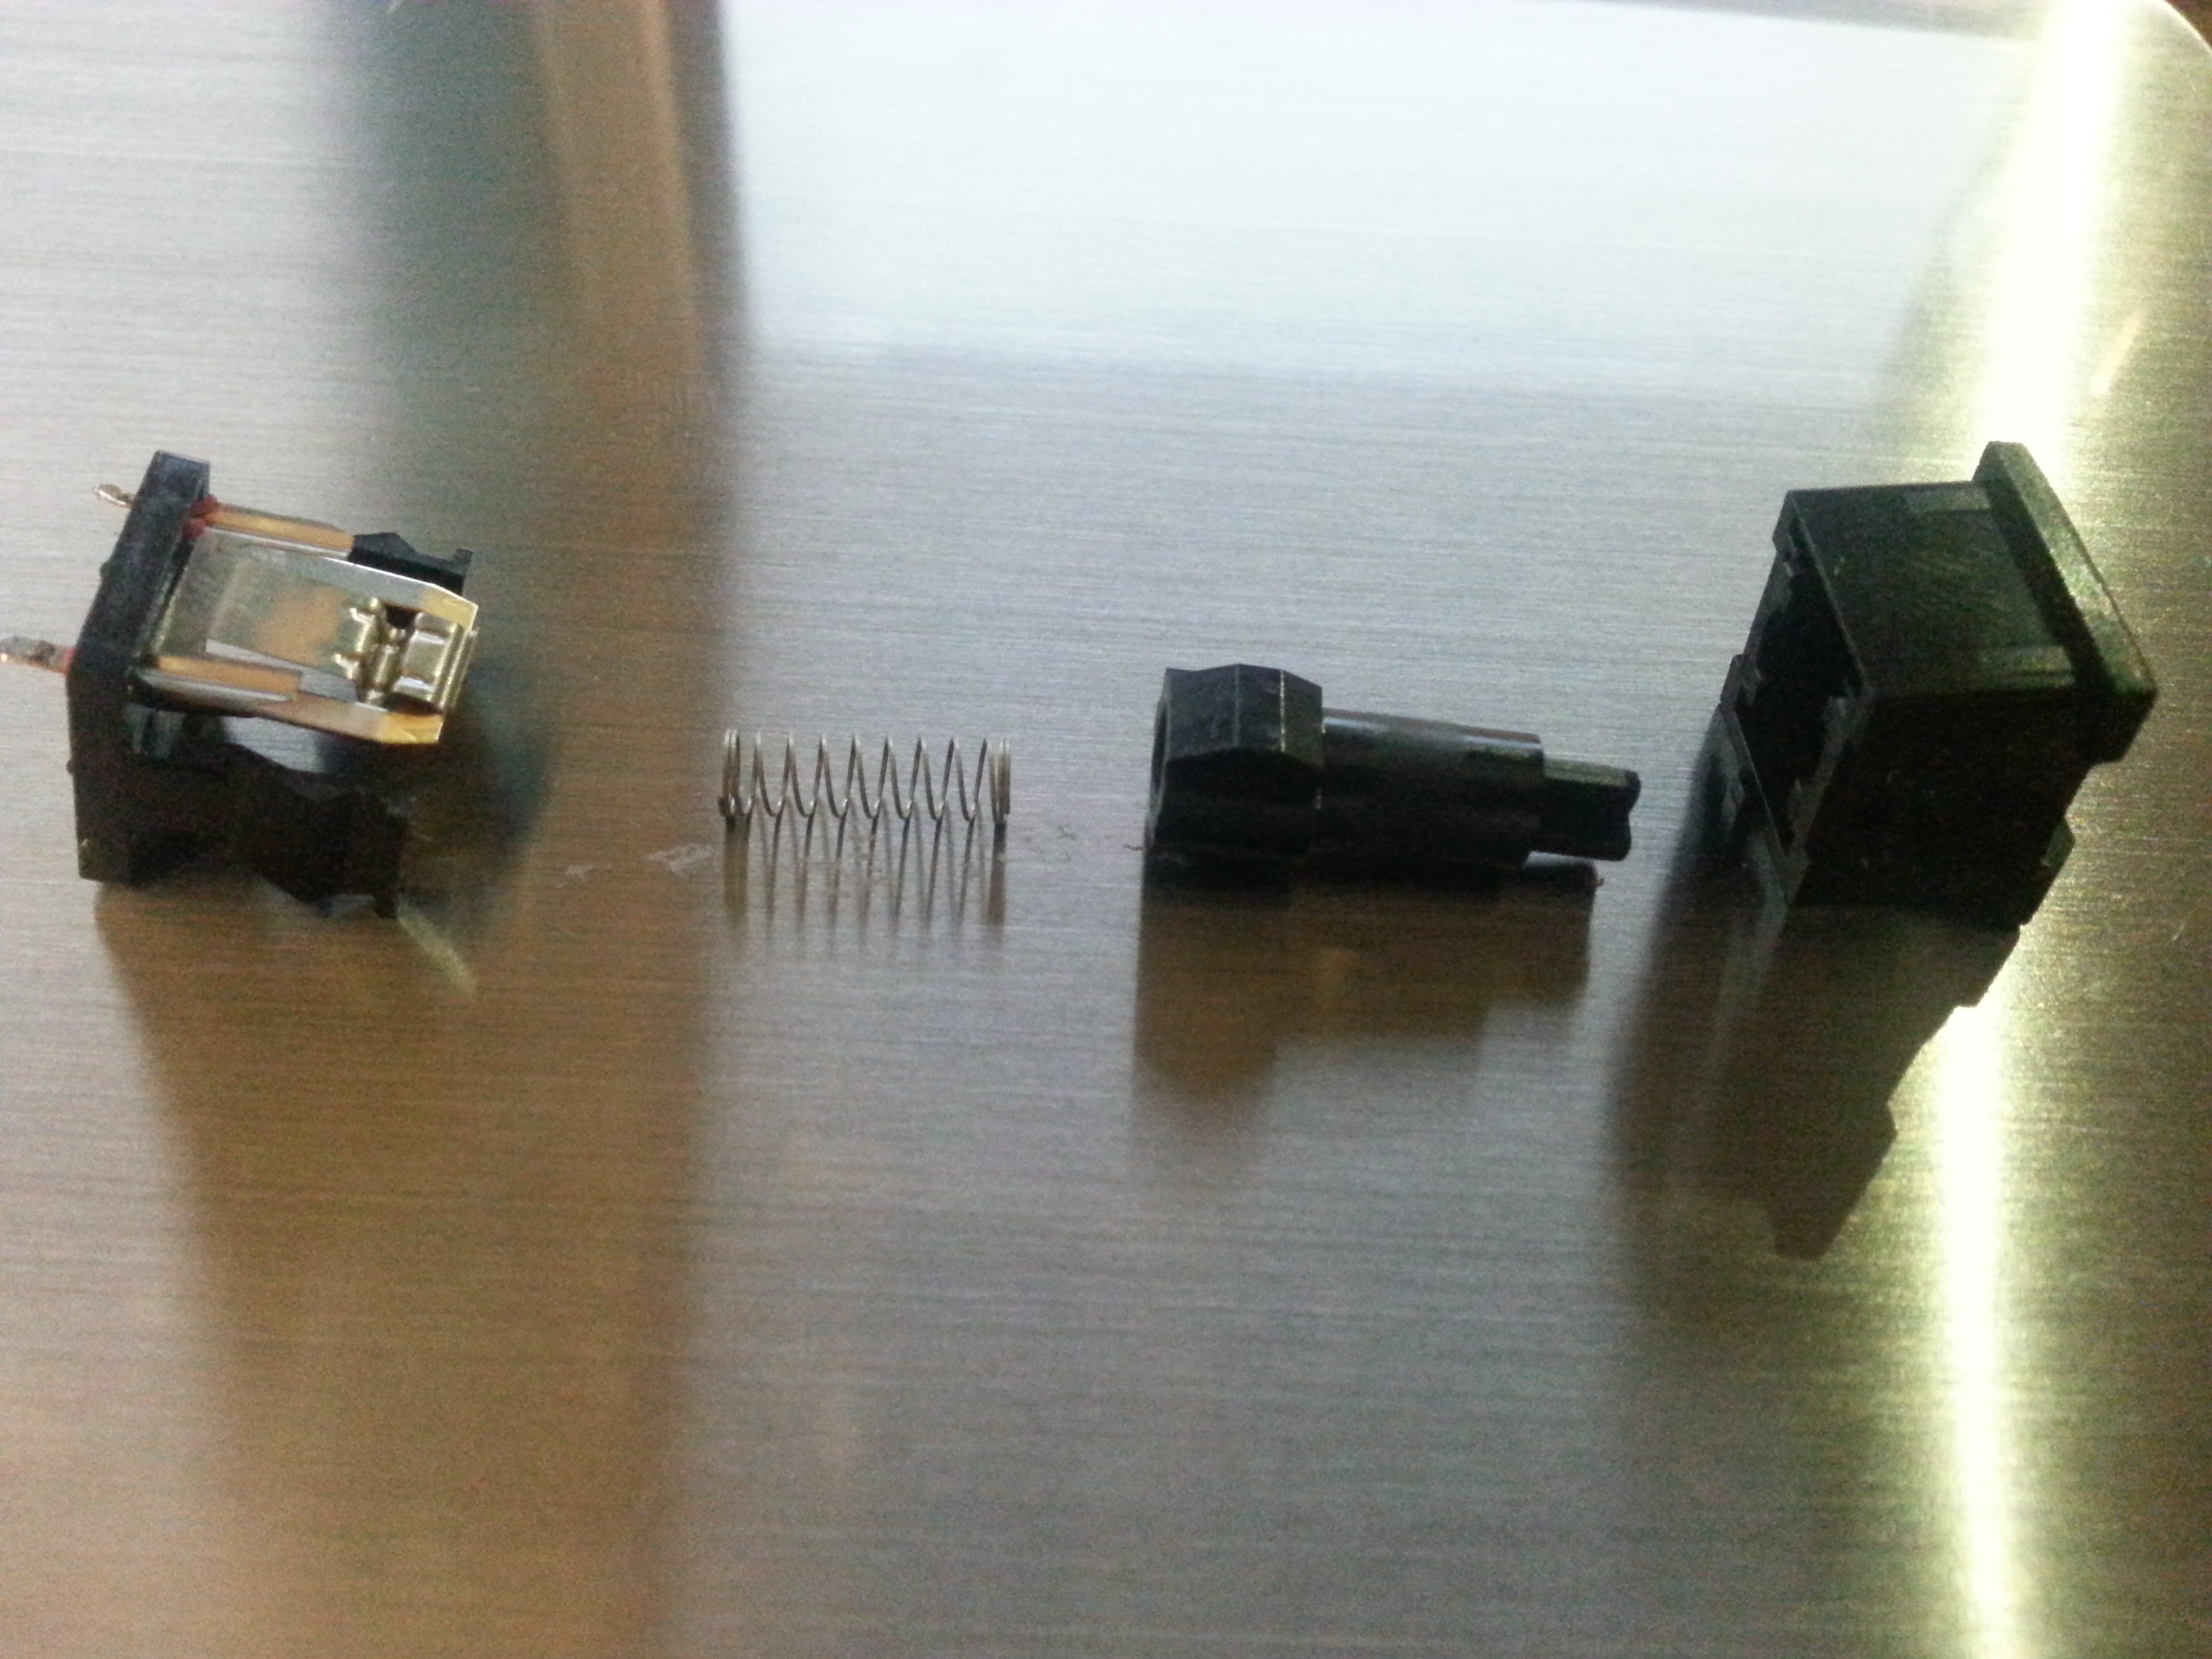
Fully disassembled. If you’re only replacing the post, you shouldn’t need to worry about the thin metal contacts. Try to keep them in their original orientation, and attached to the base of the switch.
Swap in the replacement part from Shapeways for the broken post.

The original part (black) and its 3D printed replacement (white)
Reassemble the switch. The post will only go into the top of the switch casing in one orientation. The indentions in the side of the post slide up and down on a rail in the switch top casing.
Reassembly. You didn’t lose that spring, did you?
Assembling the switch is a little tricky at this point. You’ll need to fit the thin metal contacts into the slots in the top of the switch casing.
View from below.
All done. Now test it with a multimeter to be sure it makes good contact. Solder it back into your keyboard, pop the keycap on top and get typing.

All together now.